BEGIN 101
Using SMP’s powerful feature rich system has been made simple by entensive use of menus to guide you through the process of launching a survey .Once you have logged into the system you arrive at the main menu. Your surveys are listed in the wide frame to the right and the menu options that control the system are listed on the left.
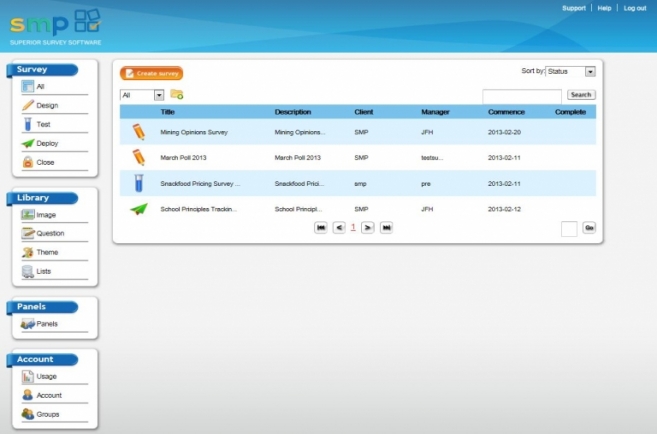
The main pane on the right of the screen lists your surveys, displayed sorted by the status that they are in – that is whether they are surveys being
Design Mode
![]()
Testing Mode
![]()
Deployed Mode
![]()
When the mouse rolls over a survey the options available to that status appear. So when you roll over a survey:
In DESIGN mode the following options appear –
![]()
Note: This is the default mode and where you start when you create a new survey. After creating your surveyyou move to Test mode by clicking on the “Test mode” icon shown above. The icon will change to the blue test tube.
In TEST mode the following options appear –
![]()
Note: You are able to test your survey in Design mode but data is not collected. When you move to Test mode you are able to test your survey and the data that is created in this mode is kept. This enables you to test that everything is working as you expect. Note that in this mode you can also run the Test bot which will run your survey the nominated number of times automatically in real time. This is great for de-bugging your program. You move to the Deployed mode by clicking on the “Deploy survey” icon – the icon will change to the green airplane.
In DEPLOY mode the following options appear –
![]()
Note: This is the mode you need to be in when you launch your survey. Here you can collect the data and track its progress – even change the quotas that have been set if need be.
The Left Side Menus
The menus on the left are divided into the operations you need to create and launch a survey, and the added features that make writing a survey so efficient in SMP.
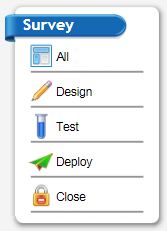
The Survey section – Clicking on the icons in this section will filter the surveys shown in the main survey list to be of only the type selected. So to display only those surveys that are currently deployed you would click on the “Deploy” icon above.
The Library set of menus takes you to elements of the system that help you build surveys efficiently.
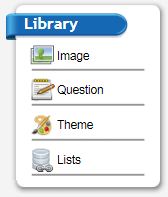
The “Image” icon will open the image library and allows you to upload images to your account for easy incorporation into your surveys.
The “Question” icon opens the question library section and enables you to create and store libraries of questions that you may wish to use over again.
The “Theme” icon takes you to the Theme designer were you can design survey themes for use in your surveys.
The “Lists” icon allows you to control large lists that you may wish to use in your surveys such as the suburbs of a city. You can also store lists sorted by a key variable to control what part of the list is displayed.
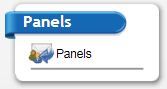
The “Panels” icon opens the panel manager – the place were you upload lists of people and their emails so that you can invite them to take your surveys.
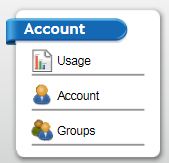
The Account section allows you to administer elements of your survey account – change passwords, check on the number of surveys that have been done a month, or in some accounts – set up new users and control their permissions.
author – John Hughes – jhughes@smpsurveys.com
Comments welcome